
HomeKit offers important advantages such as privacy and security, but also some disadvantages that many users end up opting for other solutions. But if it is not your case and you want to know how to add new users to HomeKit so they can control lights, thermostats and many more connected gadgets, even from outside the home, read on.
HomeKit, Home app, and guest users
After a while evaluating what each and every one of the home automation control platforms offer, from Amazon with Alexa to Google with Google Assistant, you go and opt for HomeKit. Apple's system, even without being perfect, provides an interesting plus on privacy and security issues. Therefore, if you also add that you only have their devices, it is logical that you make that decision.
The only problem is that, like most of Apple's options, it is intended to be used only with its devices and a single user. That is, an Apple ID that will only have access to services, devices, etc. Or almost, because there is a way to grant permissions to other users and even to be able to continue controlling these devices from other operating systems such as Android, although the latter could generate some conflicts. But let's go in parts.
How to invite other users to control your home
If you need other users to access and control the connected devices in your home, all you have to do is give them permission. For it you have to invite them and that is achieved from the Home app. The process is as follows, both from a device with iOS or iPadOS and macOS:
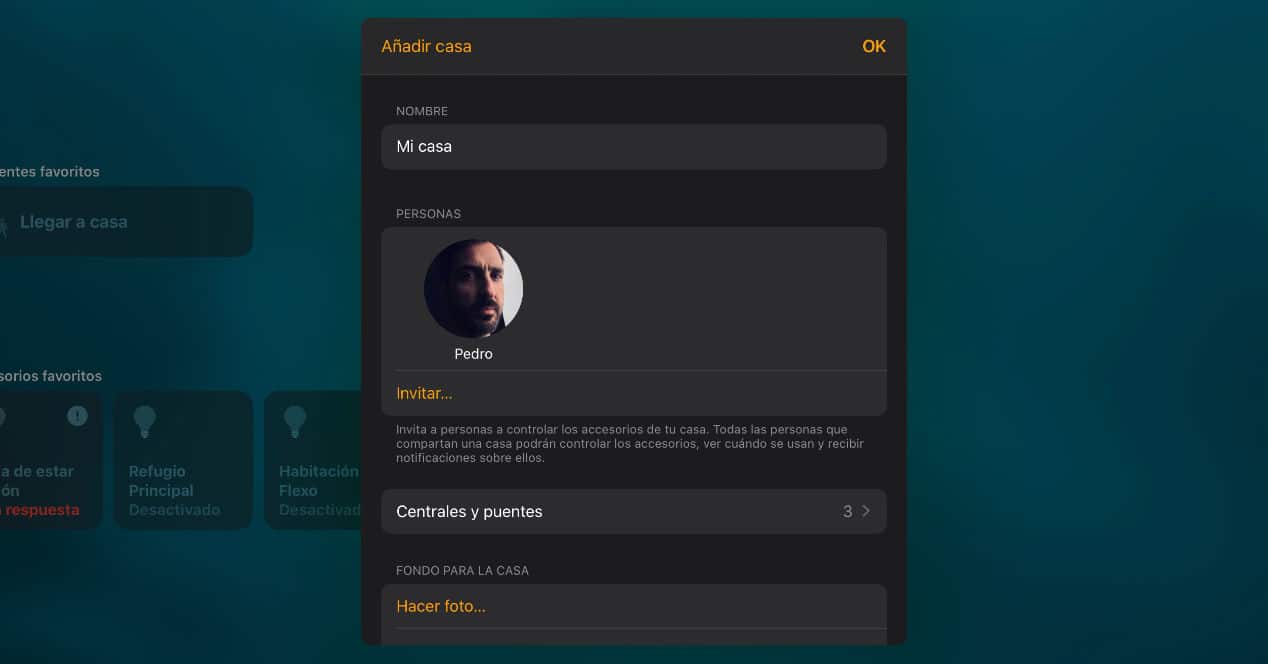
- Open the Home app on your iPhone, iPad, or iPod touch and tap on the house icon in the upper left corner. If you're on the Mac, go to the Edit menu > Edit Home
- On the next screen, go to the people section and tap on Invite
- Next, enter the email that that user uses as Apple ID
- They will receive a notification that they will have to accept
- Done, when they do, they will be able to control your connected devices
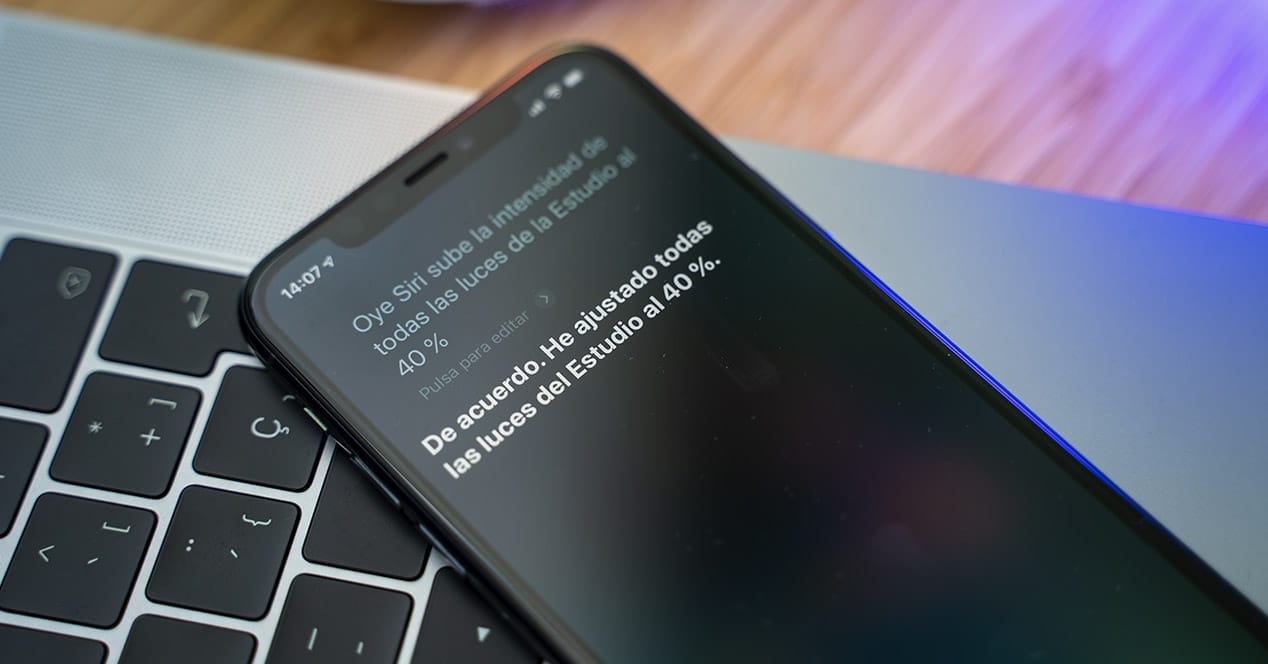
The control that they will have from first will be total. That is, they will be able to manage each of the devices and make use of some extras such as the creation of environments or even remote control. Although for that, as we explain in this article with everything you need to know about HomeKit, you must have an accessories center.
HomeKit and the advantages of an accessory center
If you are going to use HomeKit you should know that having a accessories center It is highly recommended. These centrals are neither more nor less than other Apple devices that offer the ability to manage both local and external access and the permissions of each of the authorized users.
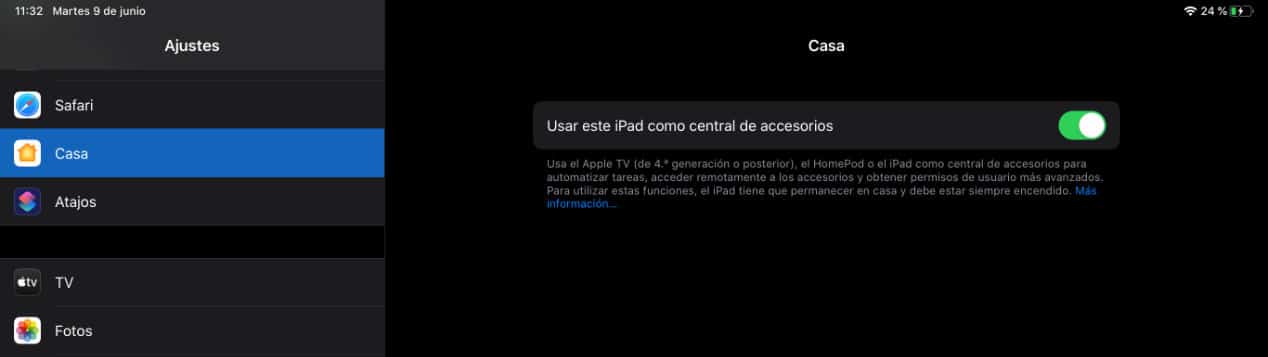
The devices that work as central accessories for HomeKit are: Apple TV, HomePod and iPad. With the exception of the iPad, which does offer mobility so you can take it away from home, the others are designed to be always connected at home, which is why it makes sense to use them.
In the case of Apple TV and HomePod, as soon as you sign in with the same Apple ID used to set up HomeKit, it will automatically establish itself as an accessory hub. Not on the iPad, here you must go to iPadOS Settings> Home and activate the function of Use this iPad as an accessory hub.
Once you have it, thanks to this you will be able to modify the permissions of the users who have access to the connected devices in the home.
How to edit user permissions in HomeKit

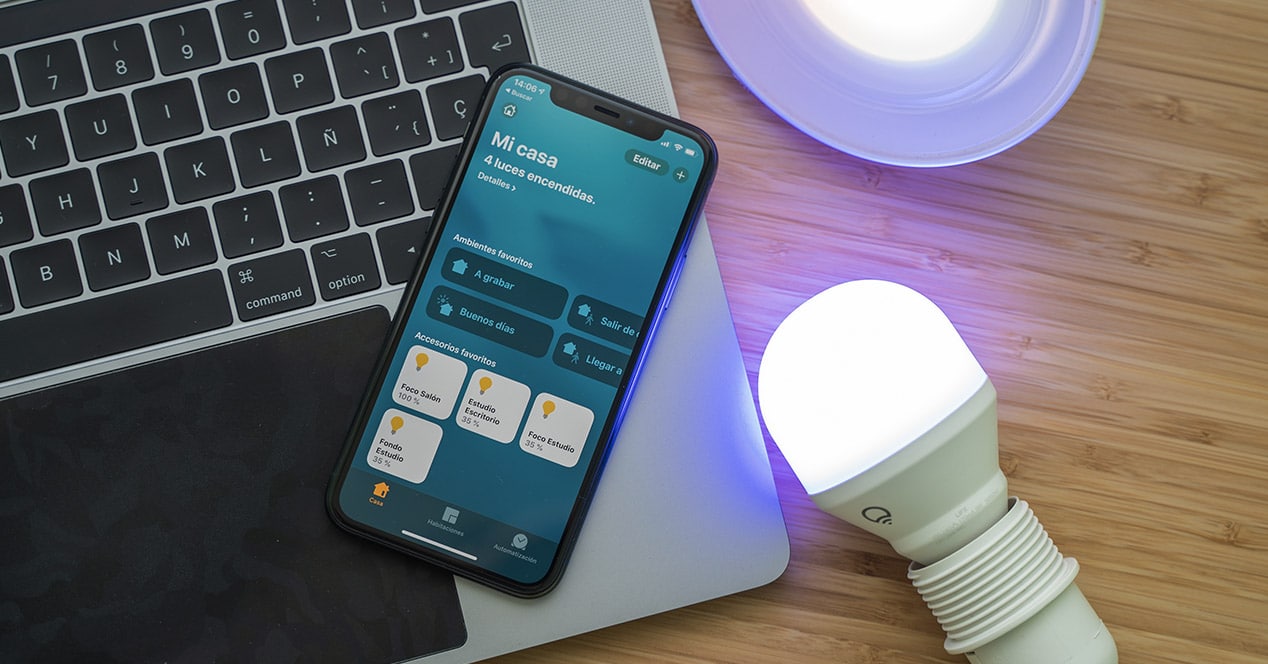
Now that you have everything, your devices configured with HomeKit, the accessories center active and the guest users added, it's time to configure permissions. So that they can only manage those devices that you really want them to be able to control. For example, the lights in your room and common areas, but not those in your work area or room.
Permission management from iPhone, iPad or iPod Touch
From iOS and iPadOS devices, permission management is done as follows:
- Go to the Home app and tap on the house icon that you will see on the screen
- In the people section, tap on the one you want to modify the permissions
- There you can activate or not the option to control the accessories remotely and also select which ones can or cannot be managed
- Hit OK when you're done and you're done.
HomeKit permissions management from macOS
For Macs, managing permissions for HomeKit users is similar:
- Open the Home app and go to the Edit menu > Edit Home
- Tap on the House you want to modify in the case of having several
- Again, in People, tap on the one you want to manage
- Activates or deactivates the accessories that you will be able to control and if you are allowed remote management
- Click Back and then OK
Done, as you can see it's very simple. It is also important to remember that despite having full permissions, these invited users will not be able to add accessories such as a HomePod, another Apple TV or AirPlay 2-compatible speakers to the application. To do this, it will have to be the organizer with your main Apple ID who does it.
Delete people or leave a house
In the same way that new users are added to the control of a House can also be deleted. The process is identical, only in reverse. Access the Home application and from the person section select the user you want to delete. Done, it's that simple. Of course, removing it from the Home application does not mean that you no longer have control over certain accessories. Something that links to what we also wanted to tell you about.
When you bet on HomeKit the only ones devices that can use this platform They are from Apple. Therefore, if you or a family member or person you meet with have an Android device or a smart speaker other than the HomePod that you want to use, you will have to bet on a common platform or also use the native applications of each accessory manufacturer.
Between the two options, using the manufacturer's native apps is the best. Because mixing platforms like Alexa or Google Assistant with HomeKit is not the best idea. In the end, there are problems when updating devices, names, creating routines, etc.