
Most current routers offer an option that not all users are aware of and might find it especially useful. So much so that some might even stop considering the idea of acquiring a NAS. Because these devices give you the option of creating your own network storage and media server. And yes, it is something much simpler than you can imagine. So we are going to tell you how to do it.
What is that USB port on the router for?
The home router is not usually paid much attention. And it is true that the models offered by most operators are nothing special, but most of them already offer something as basic as including the network cable in the box. We refer to the integration of one or more USB ports. These start-ups are usually used to connect devices such as printers, to be able to use them on the network without the need to connect to any particular computer or to the one from which we want to print.
However, it is not the only use that can be given, most of the systems that integrate give the option to create a network storage unit and even multimedia server. In this way, from a computer or players normally compatible with DLNA technology, said content can be accessed to play it remotely.
So, unknowingly at home you already have a device capable of storing and sharing content such as series and movies to other devices just by having the appropriate application. And that is very useful, so much so that it can even save you money by no longer having the need to purchase a NAS for these same functions.
How to create a media server with your router
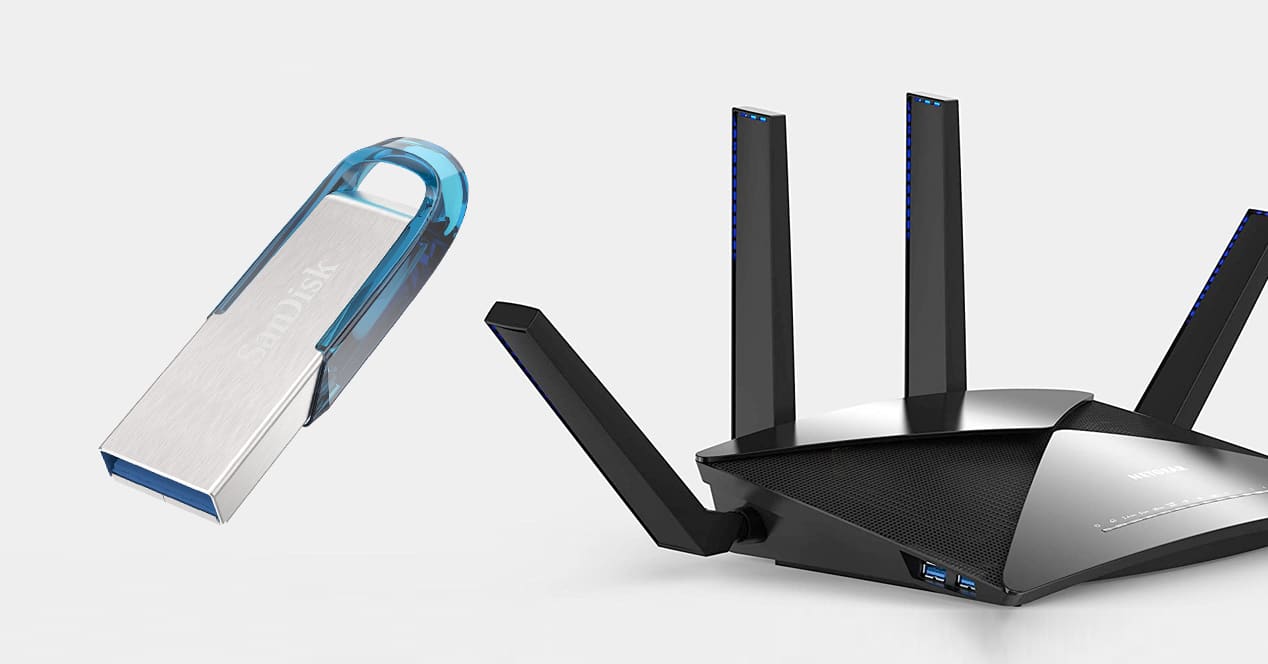
For create a media server or storage unit with your router you just have to make sure that you have those options available from your own software. Once done, the next requirement will be to connect an external USB storage unit. Here the ideal is a hard drive, but a simple flash drive can be useful if all you need is to share something specific.
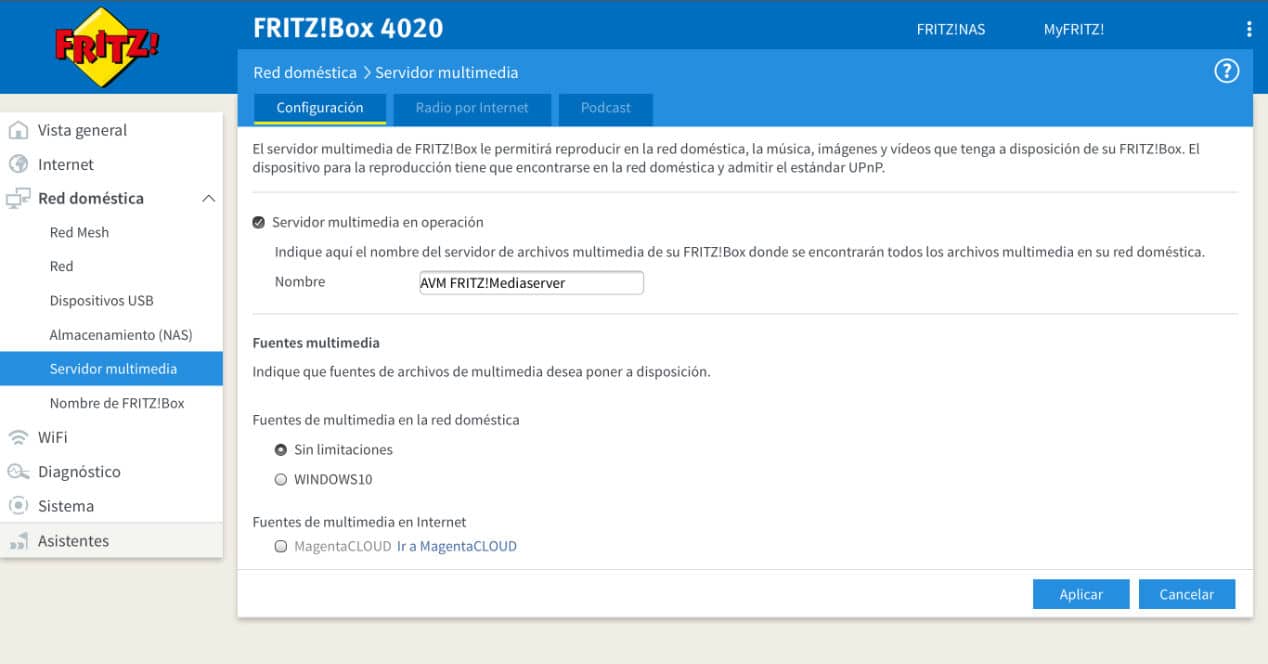
This process of activation and configuration of these services is very simple, although it will depend on the software of each model to find the exact location of each option. Even so, to serve as an example, here we do it with one of AVM's routers, the Fritz!Box.
The first thing you need is access the web interface, you may have your own application too, but it is always easier to use your browser and enter the IP address assigned to the router. This is usually of the type 192.168.178.1 or 192.168.1.1. Anyway, if you use Windows or Mac it's as easy as doing the following:
On windows
Enter the command prompt (search for CMD in the Windows search engine and press Enter). Inside the terminal, run the command ipconfig. When you hit enter you will see a message with Default Gateway.
The numbers you see below is the router IP. If you put that address in a browser -important to have any type of VPN or proxy disabled-, you will enter the configuration of the wireless router in its web interface.
On macOS

Simply go to system preferences > Network and on the adapter (WiFi or Ethernet) you will see the Router's IP. There are ways to do it through the macOS terminal using the ifconfig command. However, you will need to first determine the network interface that is in use. Hence, it is easier to look at it directly in the System Preferences.
configure your router
Now that you have the IP, type it in your browser and press Enter. You will see that the router interface loads and you have two fields in which you must enter the username and password. If you have never done it, it is likely that by default you have the ones assigned by the manufacturer. If you don't have the instructions, just do a search with the model of your router and the terms username and password by default. You will see that several results or pages appear where they indicate what they are. The most common admin/admin admin/root. However, on many modern routers, the router's own admin key is printed on the same sticker as the Wi-Fi network name and key.
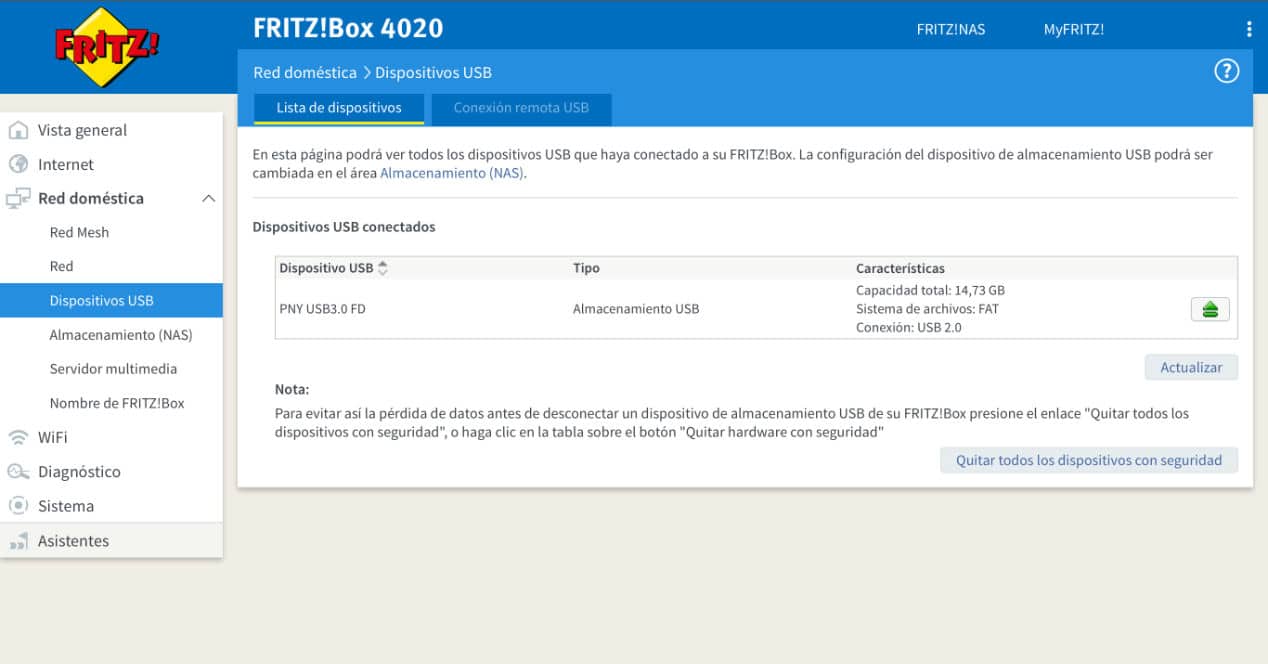
Once inside your router you should look for the section that refers to said USB port or the option to connect USB devices, media server, etc. This, again, depends on the user interface of the router itself, but it is not complicated at all.
Once inside this section, all you have to do is activate the option. Previously you will have to connect the USB drive you want to use. Our recommendation is that, although it can be a simple flash drive, ideally it should be a hard drive with sufficient capacity and if it does not require a power adapter, better, because it saves you connecting an extra cable.
Disc format and limitations
Regarding the format, you have to take into account that it must be able to be read by the router software, so the ideal way to avoid storage problems with large files is to use exFAT. In addition, this format allows you to connect it to both Windows, macOS and Linux computers and copy new files or delete them on the hard drive. In case you want to do it like this instead of remotely. What's more, you could use that drive even by connecting it directly to a Smart TV or media player.
By default, when formatting any device larger than 32 GB in Windows, the wizard will give you the option to select exFAT as the format. In both cases, keep in mind that everything on the flash drive will be lost with the formatting. Therefore, make a backup of your files before starting the process:
- On windows: connect the flash drive to the computer and go to Equipment. Find the device in the list and right click < Format. In the list, select the exFAT format. If you're going to use small files, FAT32 can also help, but you won't be able to format large drives that way. Never use NTFS for this function, as Unix-based systems such as macOS or the router's own OS will not be able to write to it.
- On macOS: connect the flash drive and enter Spotlight (Command + space bar). Find 'Disk Utility' and press Enter. Locate your flash drive and format it exFAT. Apply the changes and you're done.
Turn on file sharing
Now that you have your unit in the correct format, it's time to do the final process. Connect the disk to the router and the next step is to look for it in the network locations of the different applications and devices that you can use for it. For example, in Smart TVs, multimedia players detect all devices connected and with DLNA support, on mobile phones more or less the same and on computers in the network devices section it should appear. The latter is so because it is normal to use the SMB protocol, one of the most compatible with any system.
Once you have located the drive on your router, you can upload your files to the network and use them from any device within the local network. Of course, use this technology to share copies of your files, but not as the only support for the data. Always have a backup in case the system fails.
Hard drives to use with your router
The hard drives that you will be able to use with your router are practically all of them, as long as they do not need any extra power, the one that the USB port itself will supply will be enough. Even so, the 2,5″ ones are the most suitable due to size and also for that same matter of needs at the current level.
Yes, we would tell you to try so that the capacity is not excessive. After all, it is not a NAS and access to information can be delayed compared to other solutions. So capabilities of 1 or 2 TB They are usually more than recommended to be able to have various multimedia content such as series and movies. To make your search a bit easier, here are some models that could be used to set up your network storage from your own router:
See offer on Amazon See offer on Amazon See offer on Amazon See offer on AmazonIf you are going to dare to connect a hard drive to your router to make your own multimedia server, you should take into account that you should never locate important files on disk. That is, do not entrust sensitive information or files that you do not have elsewhere to this multimedia server. These functions are intended for users to share movies, series, music or photos, but not as a security measure. You should bear in mind that a normal hard drive does not have a redundancy system, so if it remains connected to a router throughout its useful life, it will last less time than the typical drive that we connect and disconnect from our computer. Anything you store on this media server that you want to keep should be backed up on another drive. Otherwise, you risk losing it. As we explain in the next section, more advanced users may need a NAS, but that means a higher investment and also a longer learning curve.
What if the hard drive has USB-C?
In the event that your router only has the so-called USB-A ports (the usual rectangular ones), don't worry because you could add any model with USB-C simply by buying an adapterr that does not cost too much. Although while you're at it, why not try swapping out the old mechanical HD for a more efficient and faster Solid State SSD? Here we leave you a couple of alternatives to improve the speed of everything you keep connected to the router a little more.
See offer on Amazon See offer on Amazon See offer on AmazonAn alternative to NAS
NAS are very versatile devices and with a multitude of options that go beyond storing data that can be accessed remotely. In them you can configure backup copies, create a web server, databases, photographic storage systems such as Google Photos, multimedia server, podcast server, etc.
The only problem is that they require knowledge and an investment that is sometimes too much for many users who only want to store and share multimedia content within a local network. Therefore, knowing this option of current routers is interesting. And as you have seen, it is not at all complex to configure. So now you know, go to your router and see if it has a USB port. If so, access its settings and start enjoying its possibilities a little more.
What if I need something else?

This is where you have to decide. As always, we recommend starting from the basics. The router you have at home is enough to create a small network storage at the user level. For most users, a basic setup like this will be more than enough. Has it become too small for you? In that case, you will have to look for more professional options.
Raspberry Pi
At this point, you will have a lot of doubts. If you have already tried the router, we do not recommend that you make a server with a Raspberry Pi. Its limitations are similar to those of any router, and you definitely will not get a professional result. Ideally, you would want to transition to a NAS that has at least two 3,5-inch drive bays. There are several brands on the market that offer relatively affordable and easy to configure products such as Qnap, Asustor or Synology. The Internet is full of tutorials that can help you configure these personal clouds in such a way that they adapt as much as possible to your workflow. The learning curve will not be as fast as in the case we have seen in this article, but you will have a professional solution that will last you for years. Of course, you will have to do certain maintenance from time to time.
QNAP TS-251B NAS
This two-bay NAS has everything you need to build a home server with better features than you'd get with a router and basic storage system. It has a dual-core, low-power Intel Celeron processor. It has 2 or 4 GB of RAM, although it can be expanded.
Synology DS218 +
Another very good alternative to take a leap in quality is this Synology model, which is one of the most recognized brands on the market. This model also has a dual-core Celeron and expandable RAM. Its operating system is its strong point, since it allows you to configure anything visually. It also allows you to transcode 4K video to use Plex on a TV and you can even use its hardware to encrypt the files.
All the links that you can see in this article are part of our agreement with the Amazon Affiliate Program, and may earn us a small commission with their sales (without influencing the price you pay). Even so, the decision to publish them has been made freely, under the criteria of El Output, without responding to requests from the brands involved.