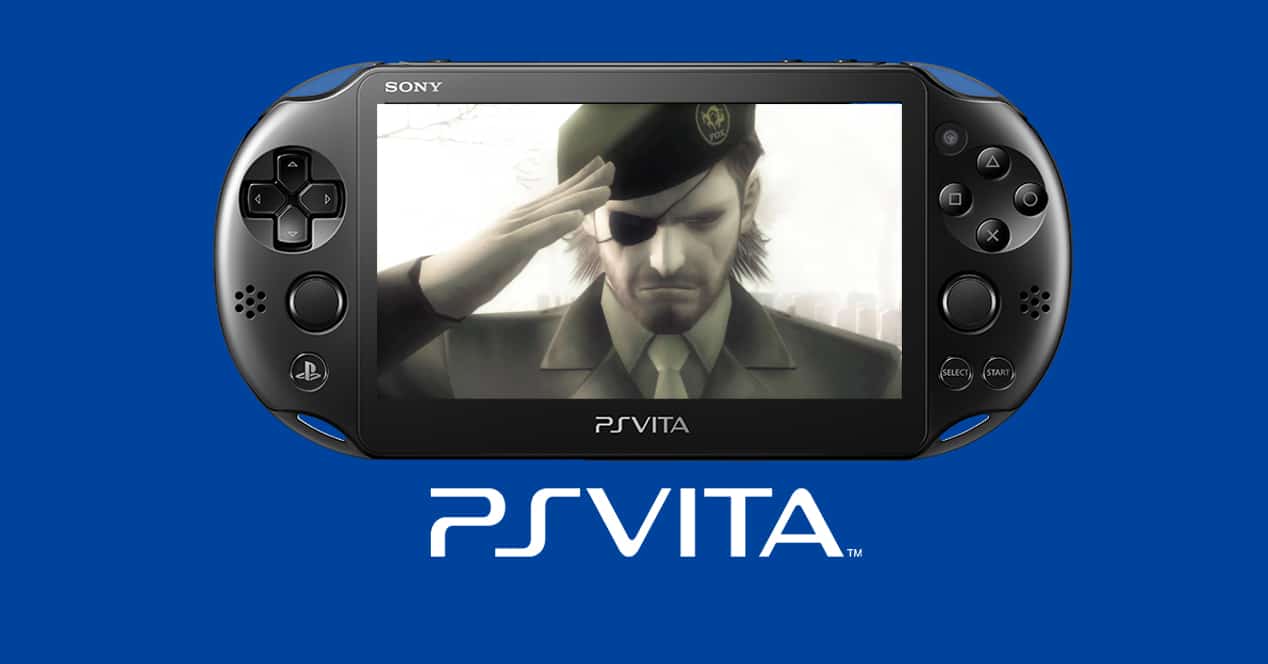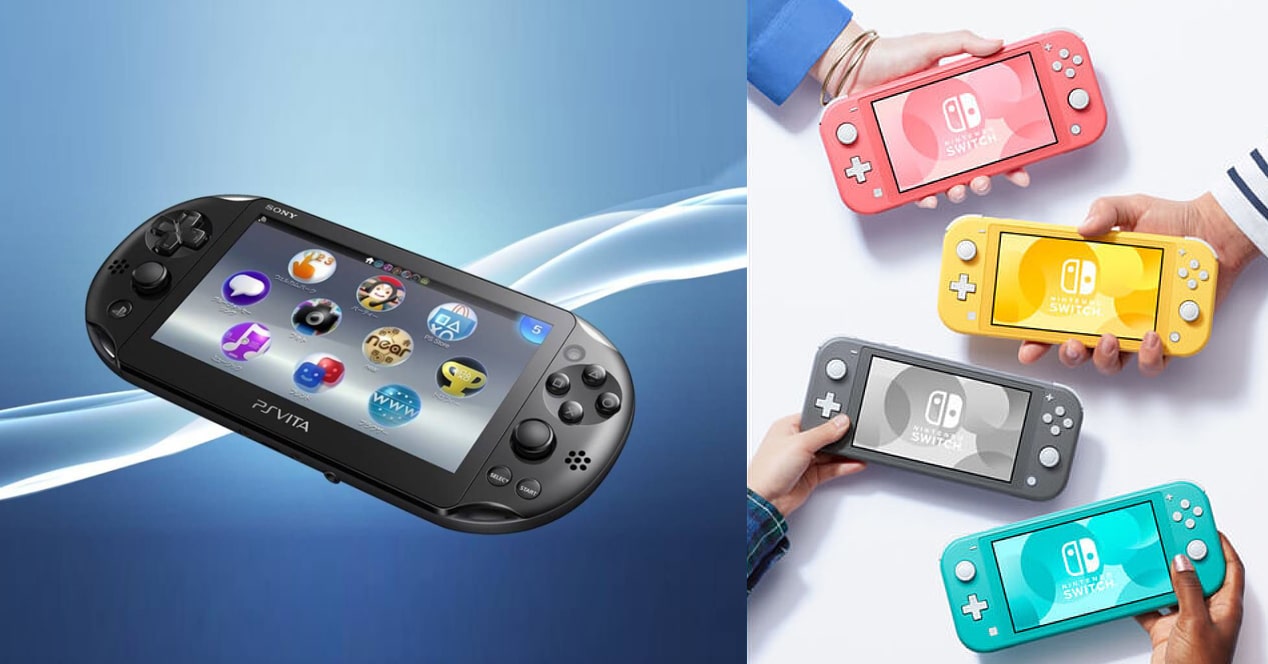
The advent of new handheld consoles with their powerful processors has allowed a lot of users to play high caliber games anywhere, even while traveling. The problem is that these consoles are quite prohibitively expensive, so there are players who still can't get hold of one. But what many are looking for is actually a platform with a high-quality screen on which to play emulators and retro games, so what if you already had something that would allow you to do that?
PS Vita Jaibreak is extremely simple
Over time, modders and scene experts have managed to come up with incredibly practical tools with which to achieve extra features for PS Vita, and one of the latest additions was that of an automated website that is in charge of inject the exploit necessary to be able to run home applications on the console.
This is really useful since only with the help of the console's original browser will you be able to access this website and carry out the entire process, avoiding the use of computers and extra devices that only complicate everything.
In a matter of a few minutes, the console will have the software installed and it will be ready to run everything that comes to your mind, such as emulators.
How to Hack a PS Vita

To carry out the process, the best thing you can do is reset console to factory settings (you can do it from the settings menu), and once it is completely reset, connect to your WiFi network and sign in with your PlayStation Network account.
You will also need have a memory card connected so that the files are stored in it, although this will not be necessary if you have a PS Vita of the 2000 series, which has onboard memory.
- Open the browser and visit the web deploy.psp2.dev.
- The page will take a few seconds to load, but once it does, a black screen will be displayed with some options to choose from, where you must select "Install henkaku”. This will download and install the first components.
- Once it finishes, you must select the second option “Install VitaDeploy”, which will finish installing the last elements of the necessary software.
When finished, go up and click on Exit to exit the installation process. You can now go back to the main menu of the console and check that the VitaDeploy icon appears in the main menu at the bottom. But before entering, go to Settings and check that the HENkaku Settings section is also integrated into the system settings menu. There you must activate the optionEnable Unsafe Homebrew", an option that will allow you to run unsigned third-party software.
Now yes, go back to the main menu and run VitaDeploy. When the app opens, go to the option “Install a different OS” and press Quick 3.65 Install. This will install version 3.65 of the PS Vita system, which is the one with vulnerabilities to run all kinds of software. It doesn't matter if you have a higher update installed on your console, this process will perform the downgrade automatically.
When you select it, a new installation menu will appear (black background) and it will tell you the version you have and the version you are going to proceed to install (3.65).
Using microSD as game cartridge

With version 3.65 already installed, the console will become another. Now you will be able to do practically everything, and among many of the options, you will be able to use microSD cards as game cartridges. To do so, you must buy the adapter that we leave you below, and it will be necessary to continue with the steps indicated below.
With the adapter inserted into the game cartridge slot, all you have to do is format the card in the proper format. To do so, go to the VitaDeploy menu and select the “Miscellaneous” option, “Format a storage device” and proceed to format your card in TexFAT format so that the console recognizes everything that is stored inside. Wait until the message "Formatted" appears on the screen.
Go back to the main VitaDeploy screen and select the option "Reboot" to restart the console and allow it to recognize the new storage drive.
But we are not done, there are still a couple more adjustments to apply. The first, you must activate the "Use YAMT" option in the Settings / Devices / Storage devices menu. You will have to restart the console after activating it.
And as a last adjustment, we will have to pass the system files that were downloaded to the memory card and copy them to the microSD card so that it acts as the main memory of the system. To do so, enter the VitaDeploy application, click on File Manager and the file explorer will appear on the screen.
Here you will have to enter in the "ux0" folder y select all folders except the “SceloTrash” folder (The triangle button will display a context menu to select all folders, and the square button will unselect the folder you are in at the time you click the button.) Select the indicated folders and copy them by pressing Triangle and Copy. Go back to the previous folders, enter the “uma0” folder and paste all the folders you previously copied. So you will have copied the folders from the memory card to the microSD card that will act as main memory.
But for the microSD card to function as main memory we must enter Settings, Devices, "Storage devices" and the option ux0 select “SD2Vita”, and in the option uma0 select “Memory Card”.
Restart the console and you will have everything working.
Install apps
From here all that remains is to install applications, something that you can do, again, from the VitaDeploy application and selecting the "App Downloader" option, where you can install "VitaDB Downloader" an application store from which you can download multitude of tools and applications, as well as "VitaShell", which will be a very comfortable file explorer to manage the storage of your console. When you have selected the desired applications, go up to the top of the menu and click on "Download the selected apps" so that everything begins to download and install automatically.
Once the process is finished, the applications will appear installed in the console's main menu, and all you have to do is enjoy all the possibilities that the system offers you.
